Alguita ORV sets sail with Robodox OpenROV onboard

IMG_1895

Alguita ORV leaving Long Beach Harbor

On Sunday night, the Alguita ORV left Long Beach Harbor for its six week expedition to study the effects of plastic on the marine environment.   They will spend 4 weeks in the North Pacific Gyre resampling areas which were previously sampled on prior expeditions.

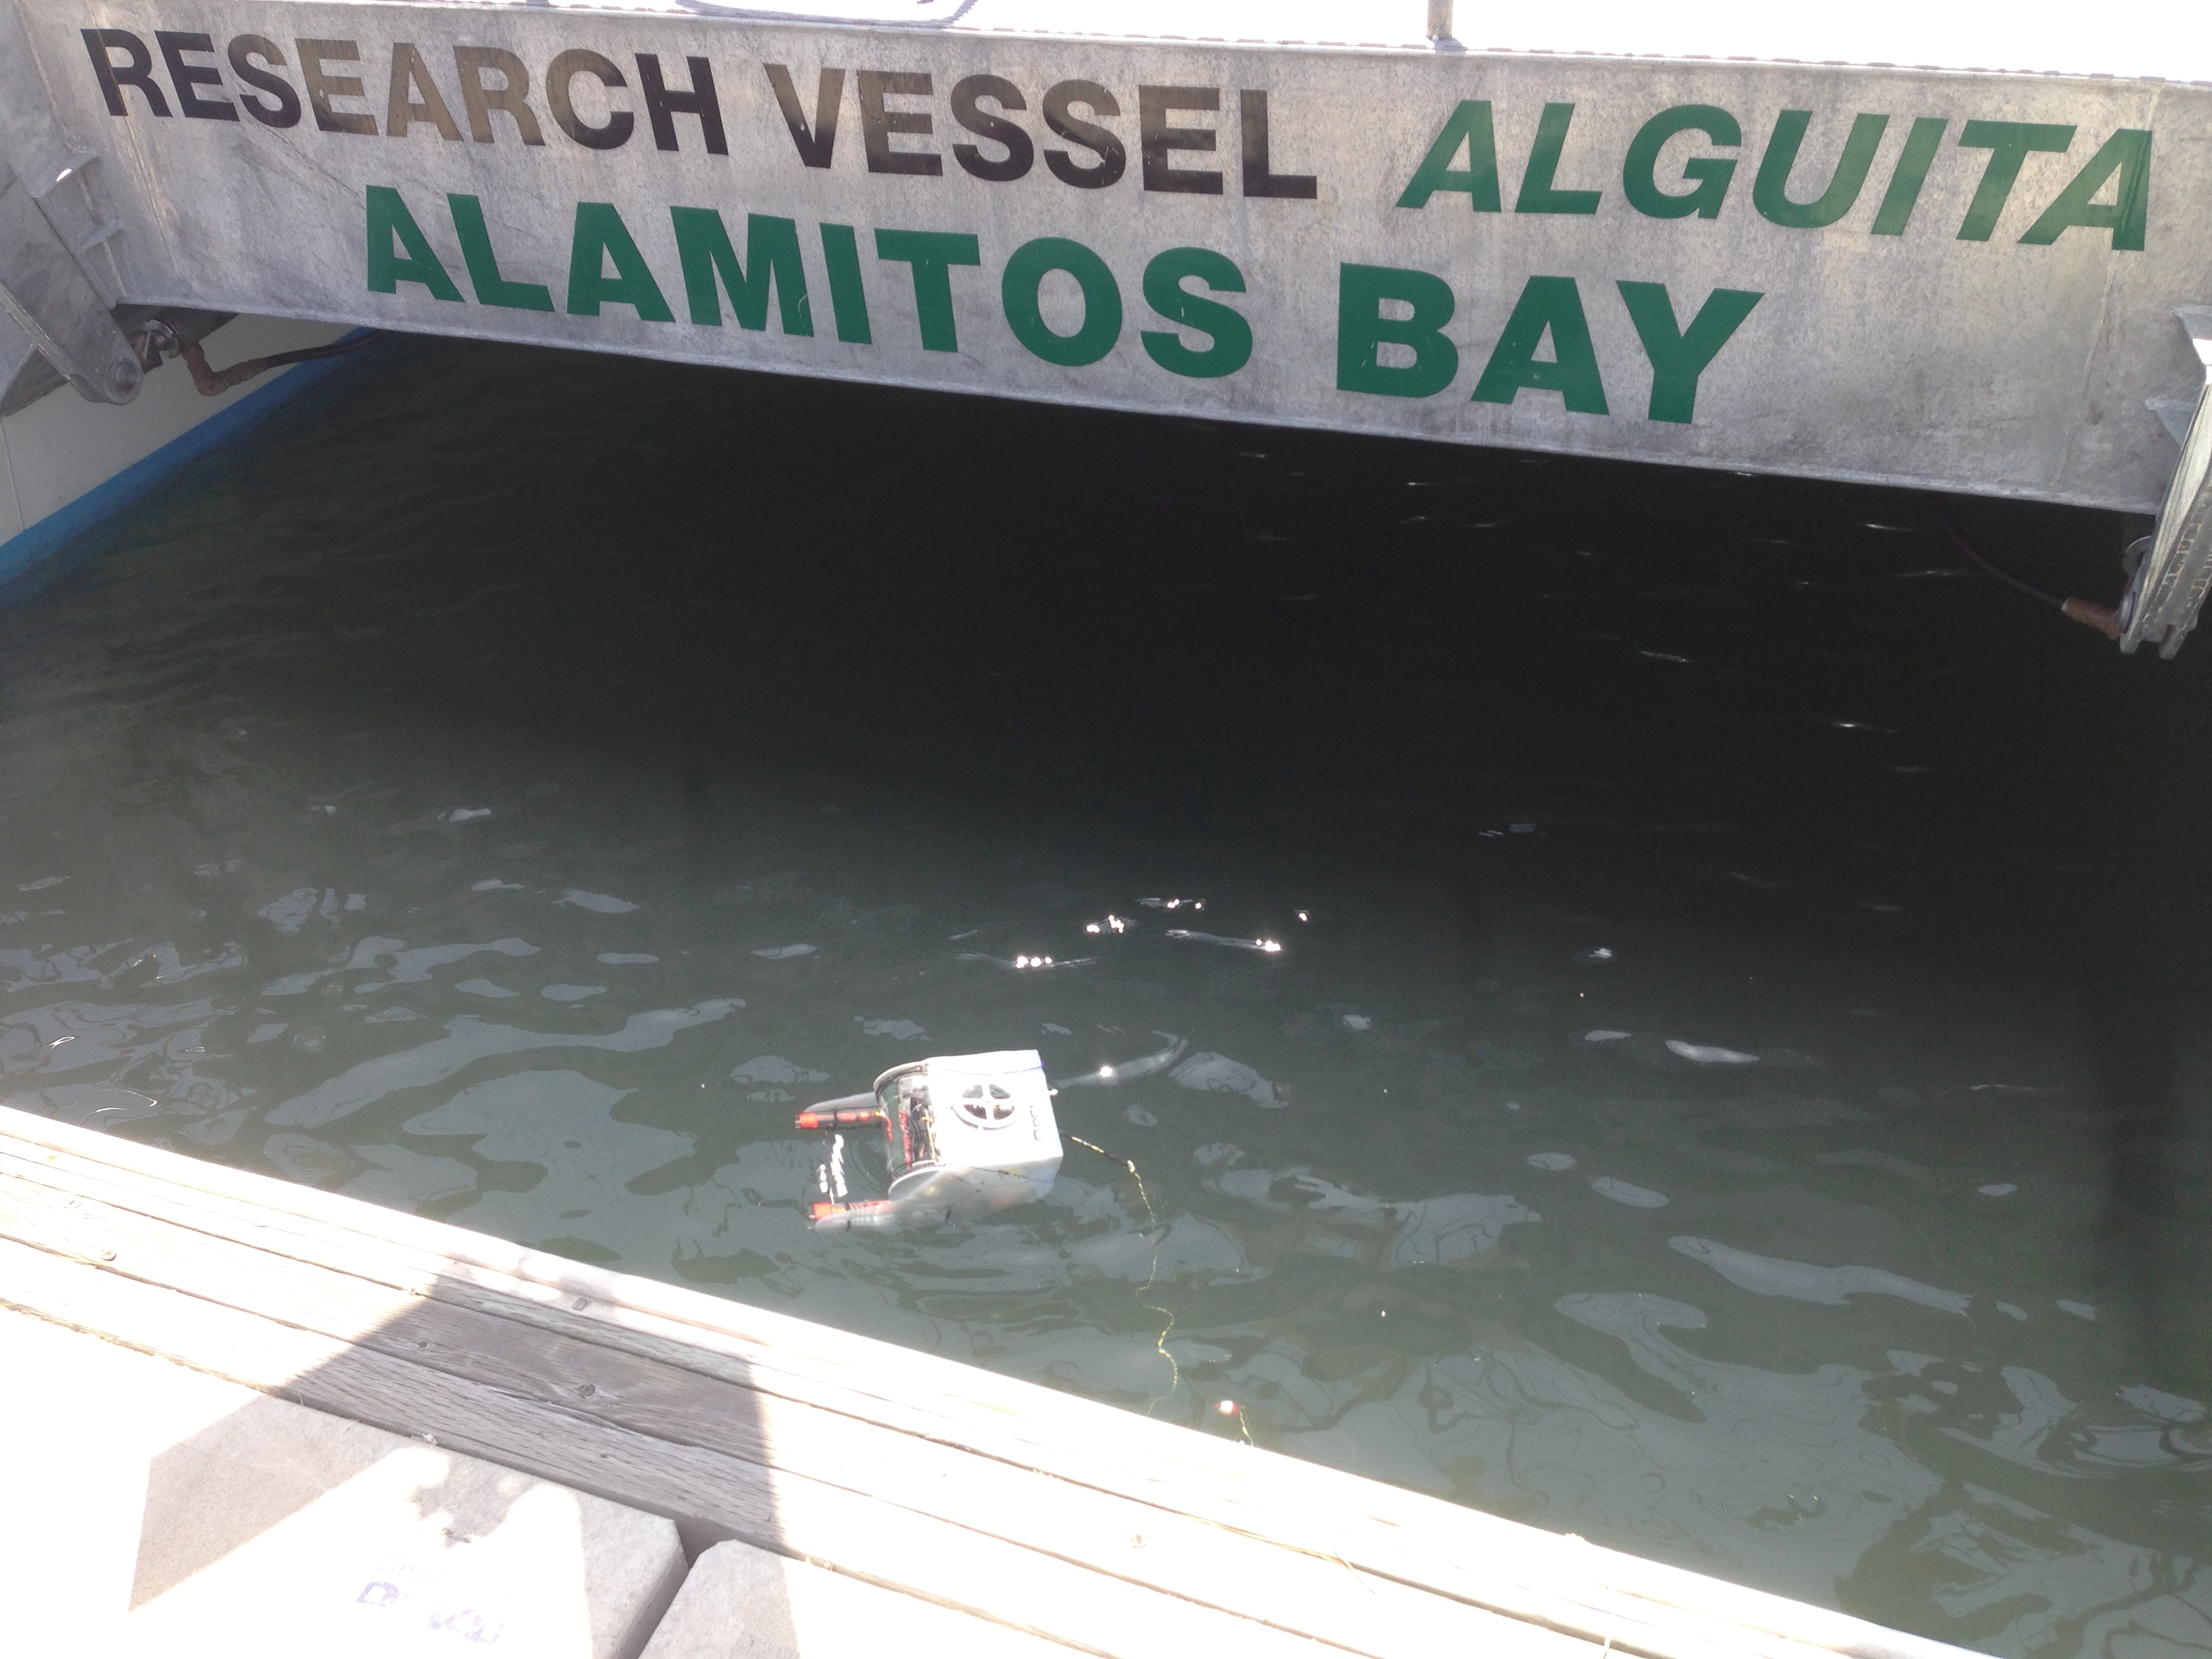
Earlier in the week,  I delivered the Robodox OpenROV to Dale Selvam , the coskipper of Alguita along with an operational manual  and we did some final operational trials in the water behind the boat.IMG_1876 IMG_1874

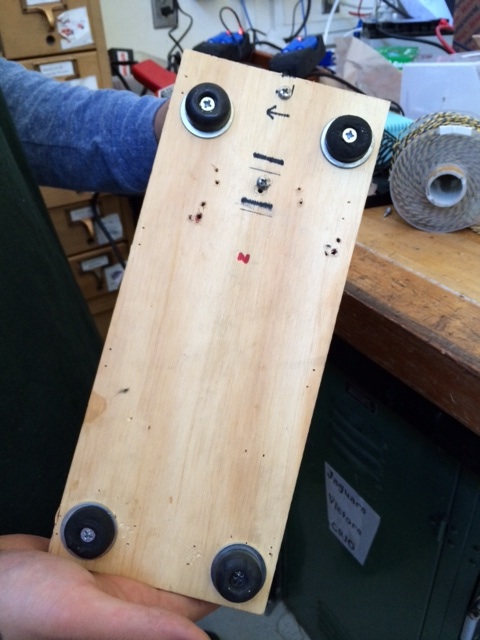
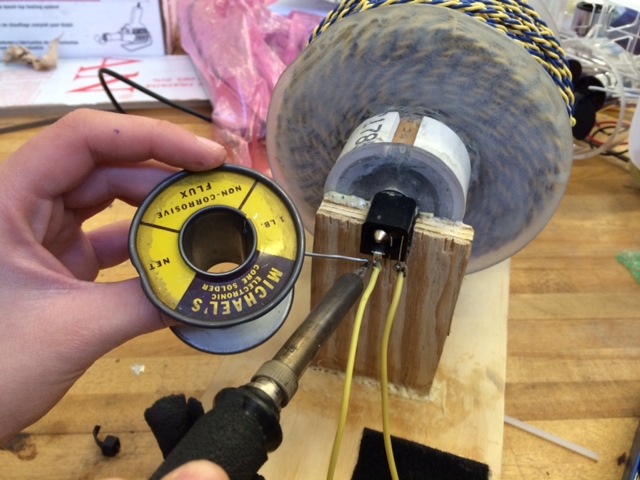
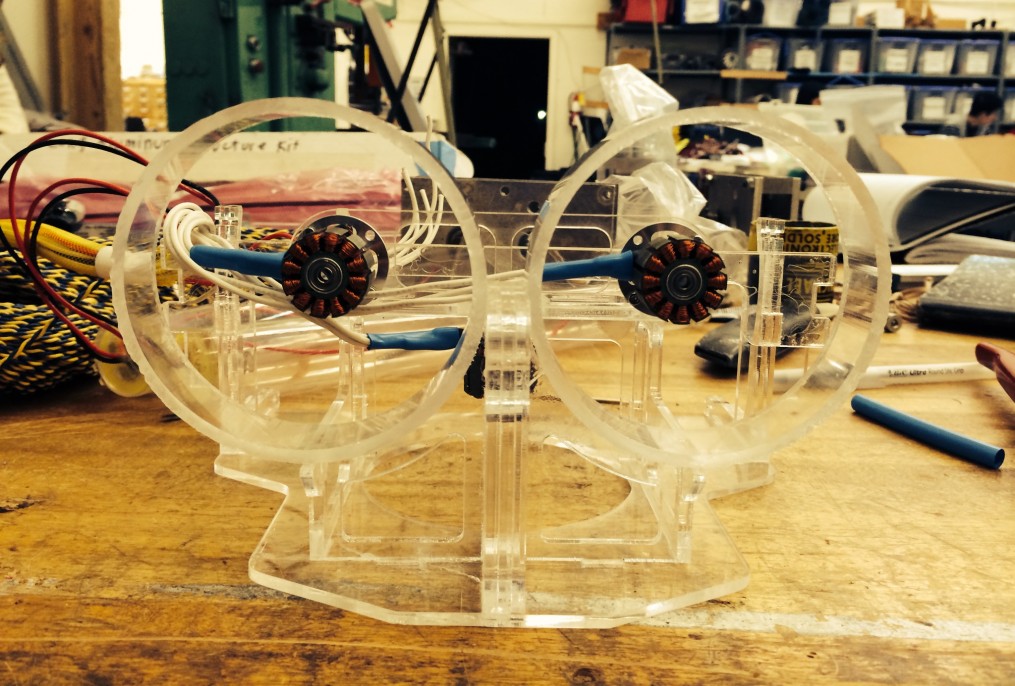
The ROV has several upgrades to make it more user friendly and seaworthy.  We added a wireless TP-LINK to the tether, dipped the motor cores in epoxy and replaced the metal motor bushings with plastic bushings.   See this postSoftware mods were made to keep disconnects from occurring with power surges and also changed the turning power settings to make it more controllable during station keeping maneuvers.

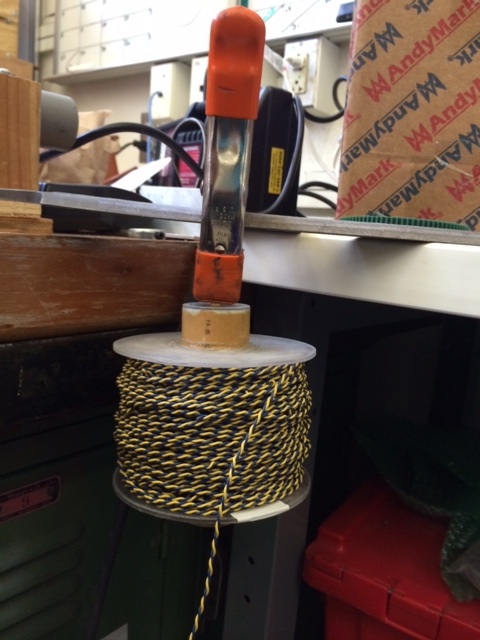
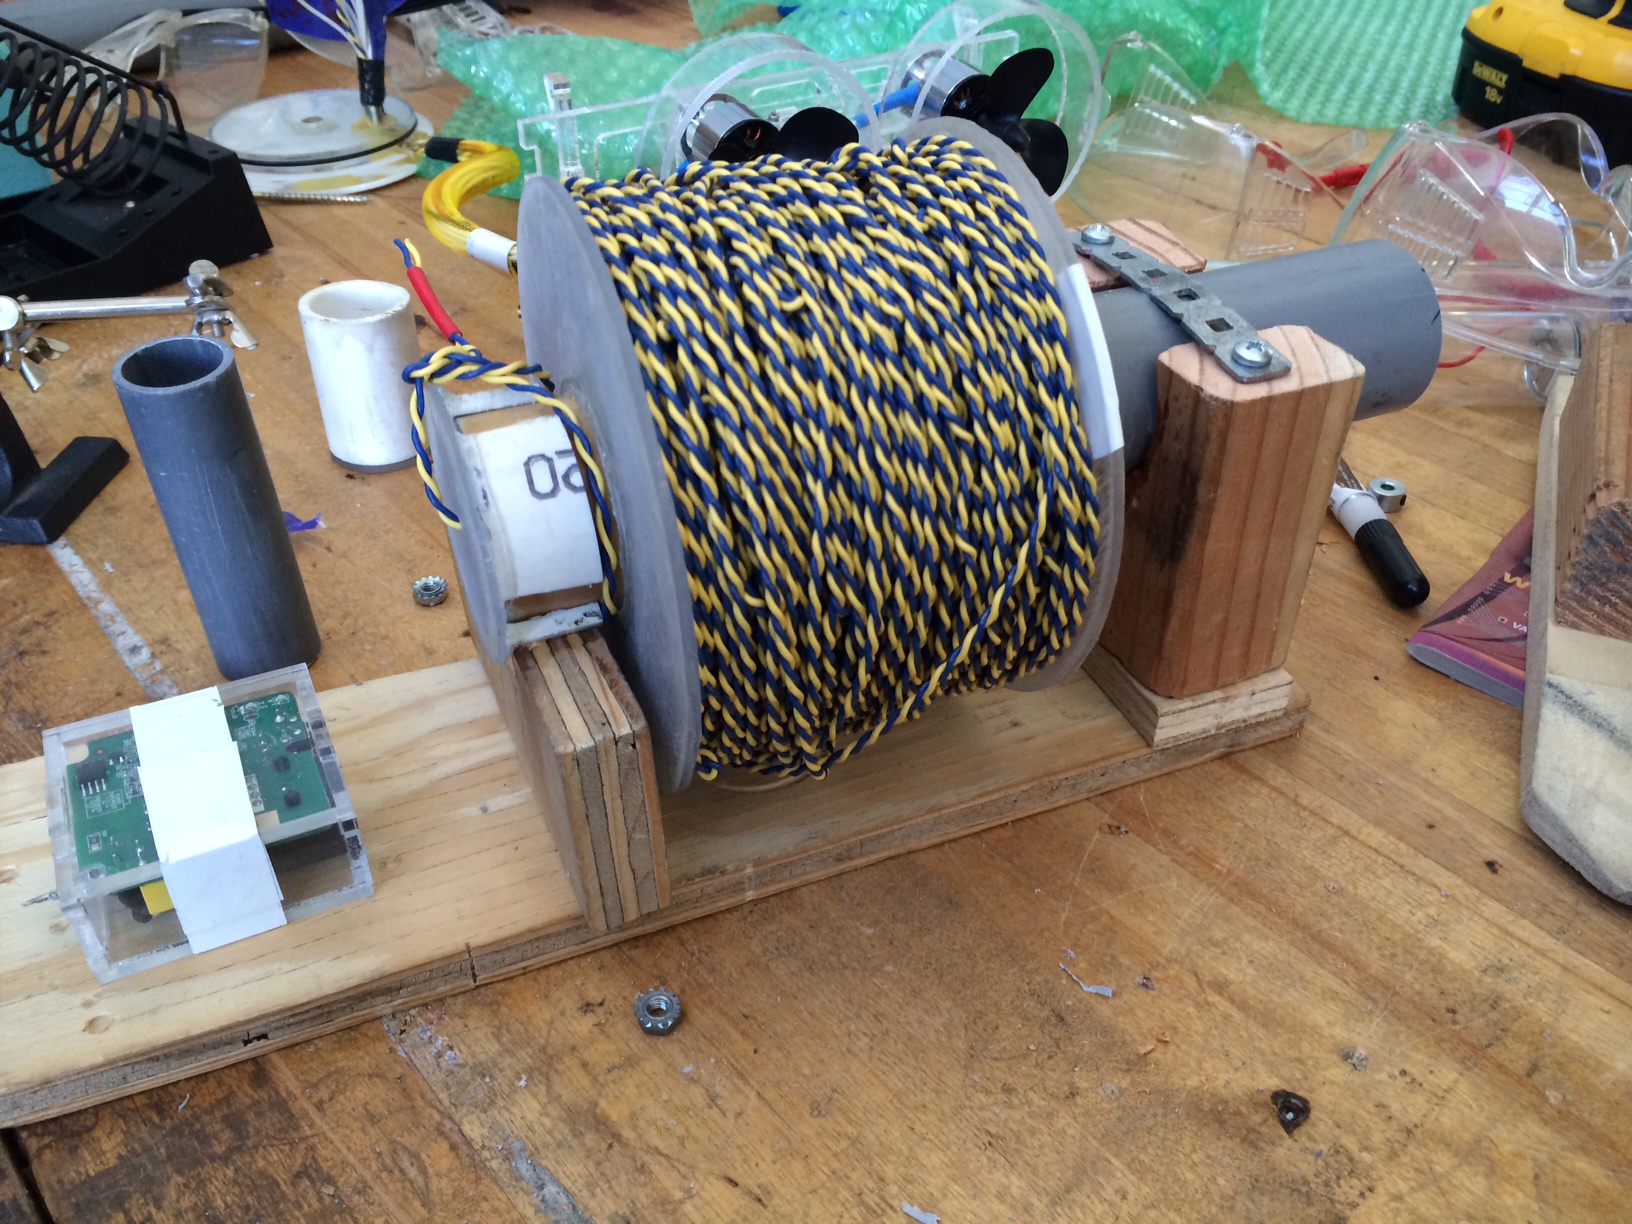
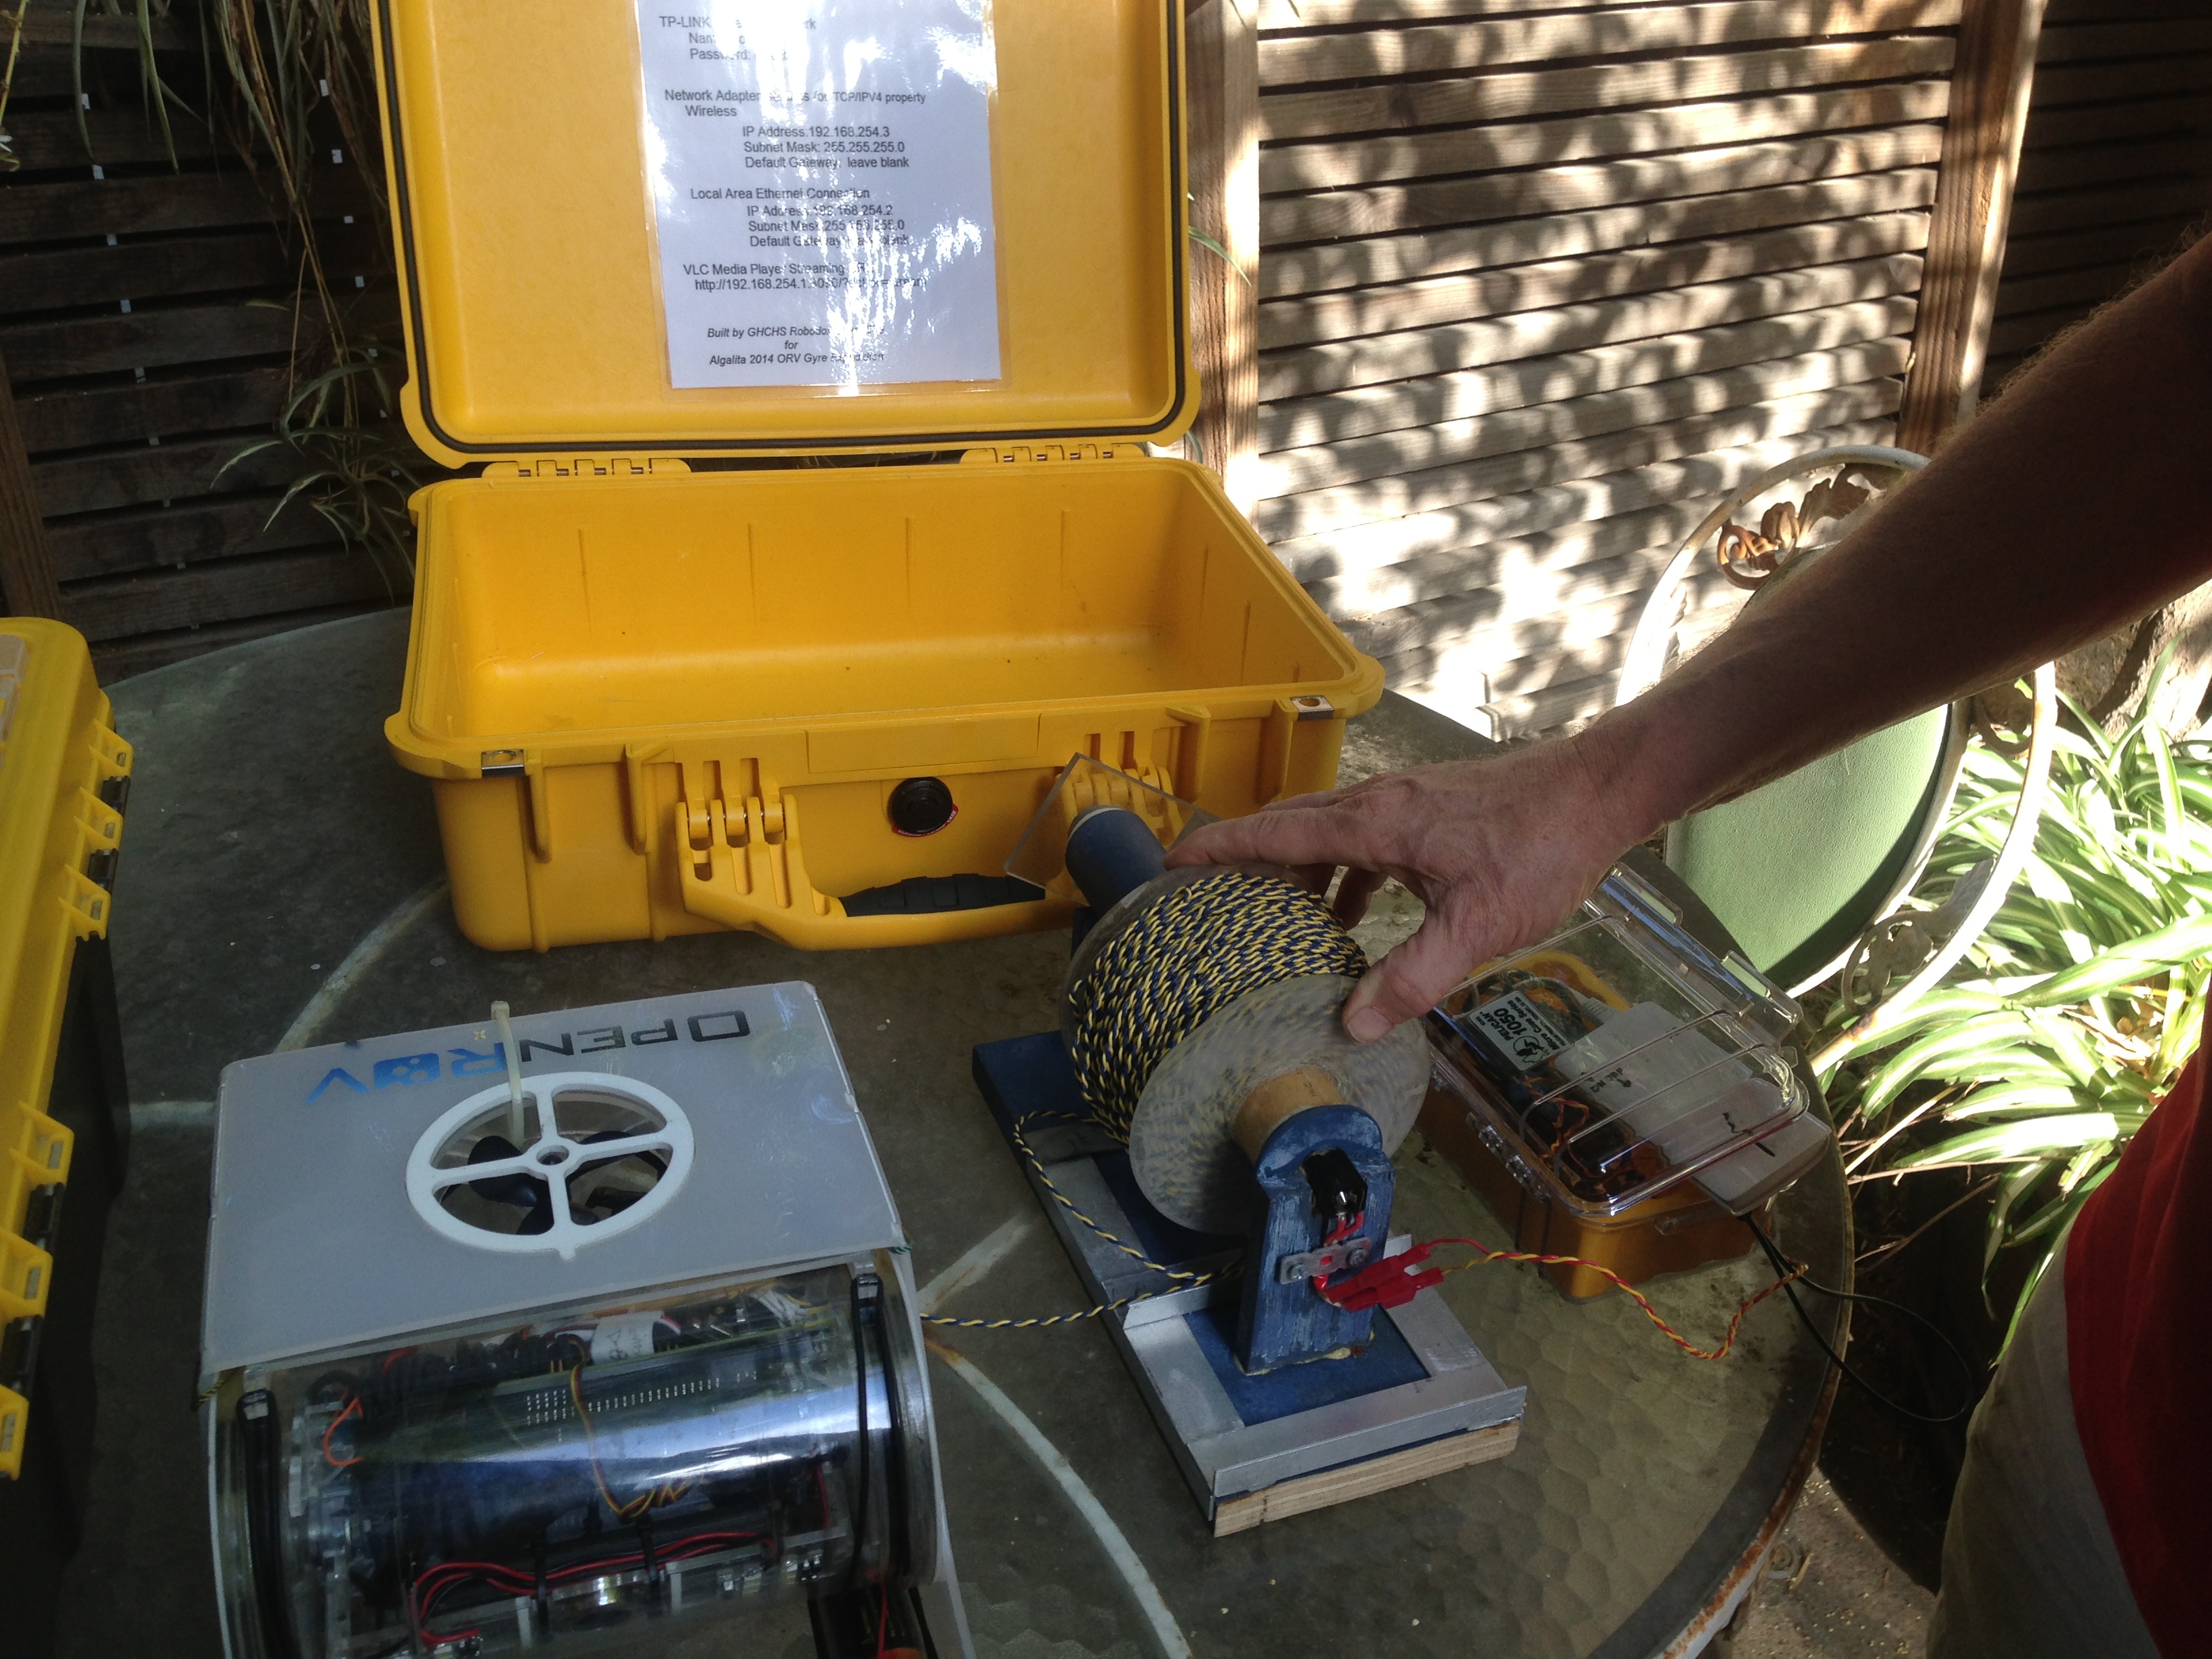
I added a small TP-LINK/Topside adapter Pelican case that can be held firmly in place with an O-ring elastic to a special slideable  aluminum bracket attached to the tether reel base.   See the following pictures: Note the laminated IP cheat sheet pasted to the inside of the Pelican case.

IMG_1869 IMG_1870 IMG_1871 IMG_1872

Ship to Shore:

Be sure to take advantage of the free ship to shore program that allows students and faculty to interact with the crew during the voyage.

Final ROV upgrades for July 1 Algalita Expedition

I picked up the ROV from Algalita last week after they had a few weeks with it.   They only had time to put it in the water for about 30 minutes on a cruise to the Channel Islands.   It didn’t get a proper test because the buoyancy wasn’t properly adjusted.   Anyway when I picked it up, another charger had failed and it looked like several batteries were discharged below 3 v which will damage the batteries.    Not sure why this happened but I suspect that the UltraFire batteries have defective overdischarge circuits.

Battery/Charger replacement

After I got the batteries home, I tried to resuscitate the batteries to no avail.   Finally wound up with only one good battery out of six and one good charger out of three.   This convinced me to return both batteries (UltraFire 6000mah) and chargers  (TrustFire TR-06) to Amazon and try some other brands.     So ordered 12 TrustFire batteries and 3 Nitecore IntelliCharger i4  four slot chargers  .   This will give the capability to have two sets of batteries ready for a dive.

Motor Salt Water Hardening

We are doing some experimental testing with epoxy filled motors and plastic bushings.   The current motors have two 3mm shaft metal bearings with outside diameters of 7mm and 8mm.   The micrometer measurements on a set of bearings from one motor are as follows:

8 mm (.31961 in) … measured  .31485 in

7 mm.(.275591 in) .. measured .2753  in

Shaft 3 mm (.11810)  measured .10176 in  or 2.585 mm.    So the shaft is about 14% smaller than the so called 3mm spec.

Mr. Paulson , our team machinist mentor,  fabricated several plastic bushings to try out.   These will be added to some epoxy hardened motor cores and painted outrunners for testing in salt water.   Here is a picture of the new bearings.

3plasitic bearing images


Tether Buoyancy

We have in hand 1 in and 1.75 inch bobbing spherical floats to attach to the tether line to try to get it neutrally buoyant.   The biggest issue is how to deal with storing the tether with the floats on.   It would be nice to do this. Otherwise they would have to be removed after each dive.


Chris

Tether Progress

We decided to add a base to place the topside adapter on.

photo 1-400

Also, we drilled four rubber feet to the base of the tether for stabilization. photo 2-400


In order to freely attach and detach the topside adapter, we glued one side of the velcro to the wood base and the corresponding side to the bottom of the adapter.

Screen shot 2014-02-05 at 4.18.56 PM


Afterwards, we used two alligator clip wires to attach the microphone jack to the topside adapter. We clipped off the clips on one side of the wires and then stripped and soldered those ends to the microphone jack. The ends with the clips are free to attach to the topside adapter based on the charges of the adapter.

photo 1-500


photo 3-300